Ingredients
- 2 cups all-purpose flour
- 1 teaspoon baking powder
- 1 teaspoon baking soda
- 1/2 teaspoon salt
- 1/2 cup unsalted butter, softened
- 1 cup granulated sugar
- 2 large eggs
- 1 teaspoon vanilla extract
- 4 ripe bananas, mashed (about 1 1/2 cups)
- 1/2 cup plain yogurt or sour cream (or use buttermilk)
Optional Add-ins:
- 1/2 cup chopped walnuts or pecans
- 1/2 cup chocolate chips
Preparation
- Preheat Oven and Prepare Pan:
- Preheat your oven to 350°F (175°C). Grease and flour a 9×5-inch loaf pan or line it with parchment paper for easy removal.
- Prepare Dry Ingredients:
- In a bowl, sift together the all-purpose flour, baking powder, baking soda, and salt. Set this dry mixture aside.
- Cream the Butter and Sugar:
- In a separate large mixing bowl, cream the softened butter and granulated sugar together using a hand mixer or a stand mixer until light and fluffy.
- Incorporate Eggs and Vanilla:
- Add the eggs, one at a time, mixing well after each addition. Then, stir in the vanilla extract until combined.
- Combine Wet and Dry Ingredients:
- Mix in the mashed bananas. Then alternately add the flour mixture and the plain yogurt (or sour cream) in three parts, starting and ending with the flour. Mix until just combined. Do not overmix.
- Optional Add-Ins:
- If desired, fold in the chopped nuts or chocolate chips into the batter at this point.
- Pour into the Pan:
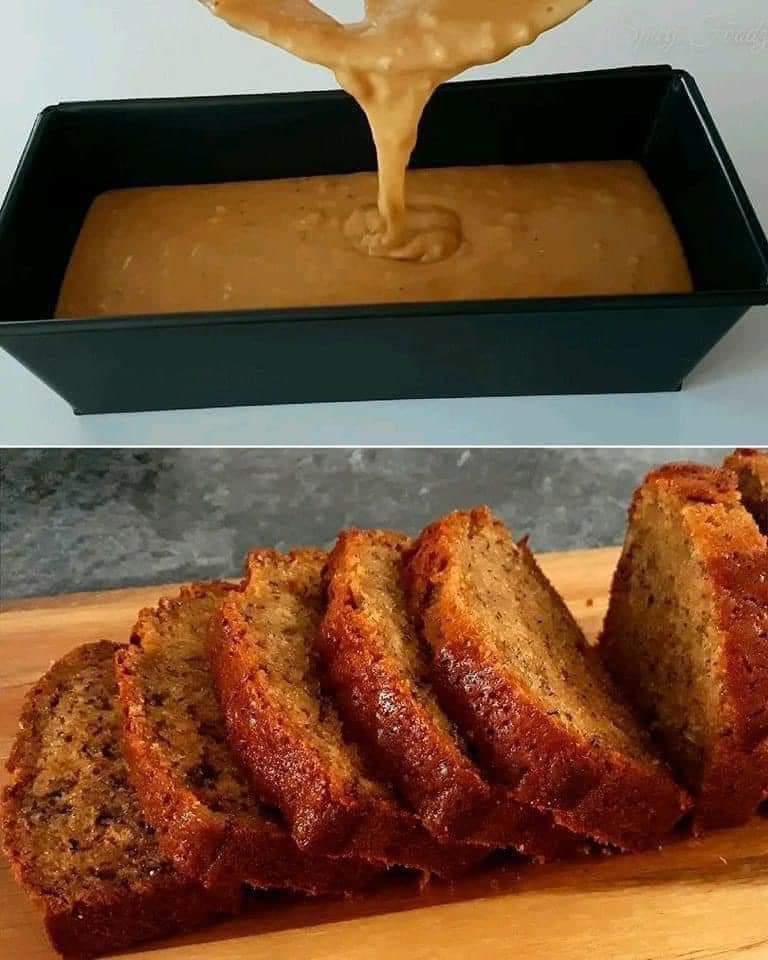
- Pour the batter into the prepared loaf pan and spread it evenly.
- Bake the Cake:
- Place the pan in the preheated oven and bake for approximately 50-60 minutes, or until a toothpick inserted into the center of the cake comes out clean. Baking times may vary, so keep an eye on it after the 50-minute mark.
- Cool and Serve:
- Once the cake is done, remove it from the oven and let it cool in the pan for about 10-15 minutes. Then transfer it to a wire rack to cool completely before slicing.
- Enjoy !

